Do you want to start working on your music and video projects in the comfort of your own home? If so, you’ll need to build a professional home studio. With the right equipment, you can get the perfect sound and video quality for your projects, no matter what size they are.
In this article, we’ll teach you everything you need to know about home studios, from selecting the right equipment to setting up your workspace. So if you’re a beginner or are just curious about building a studio, this post is for you!
What is a home studio?
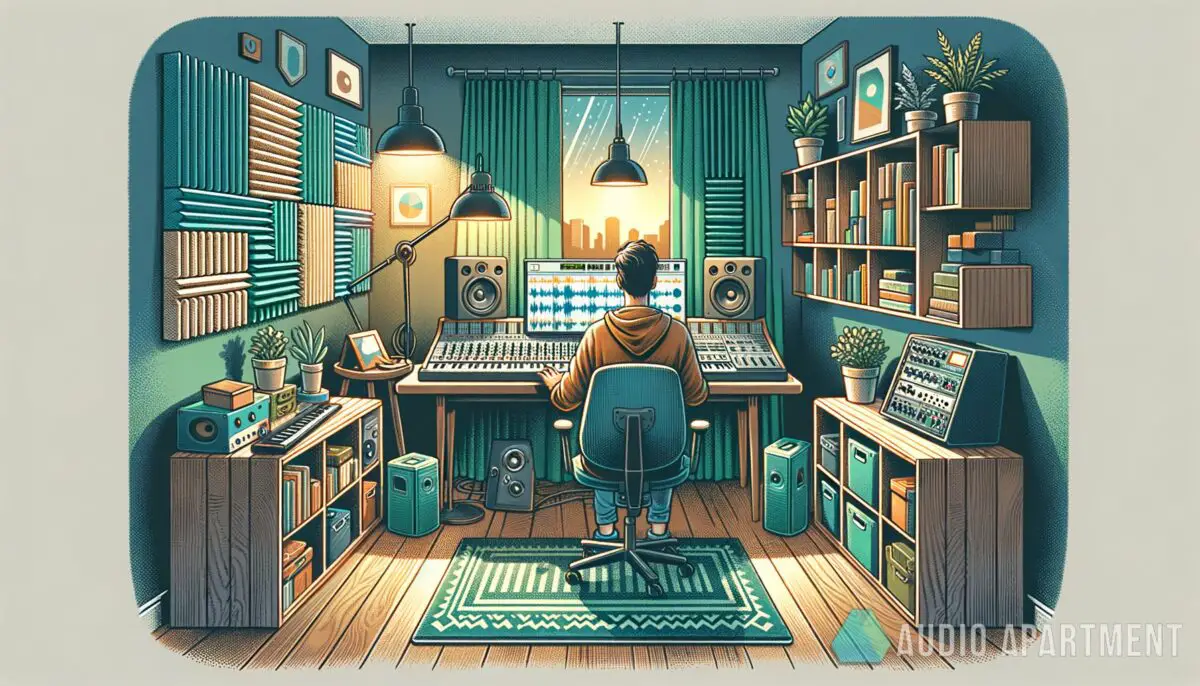
The term “home studio” refers to a recording facility that is installed in someone’s home. The number of artists who work from home on models and ideas is growing. Many artists even record all or most of their albums in their own homes.
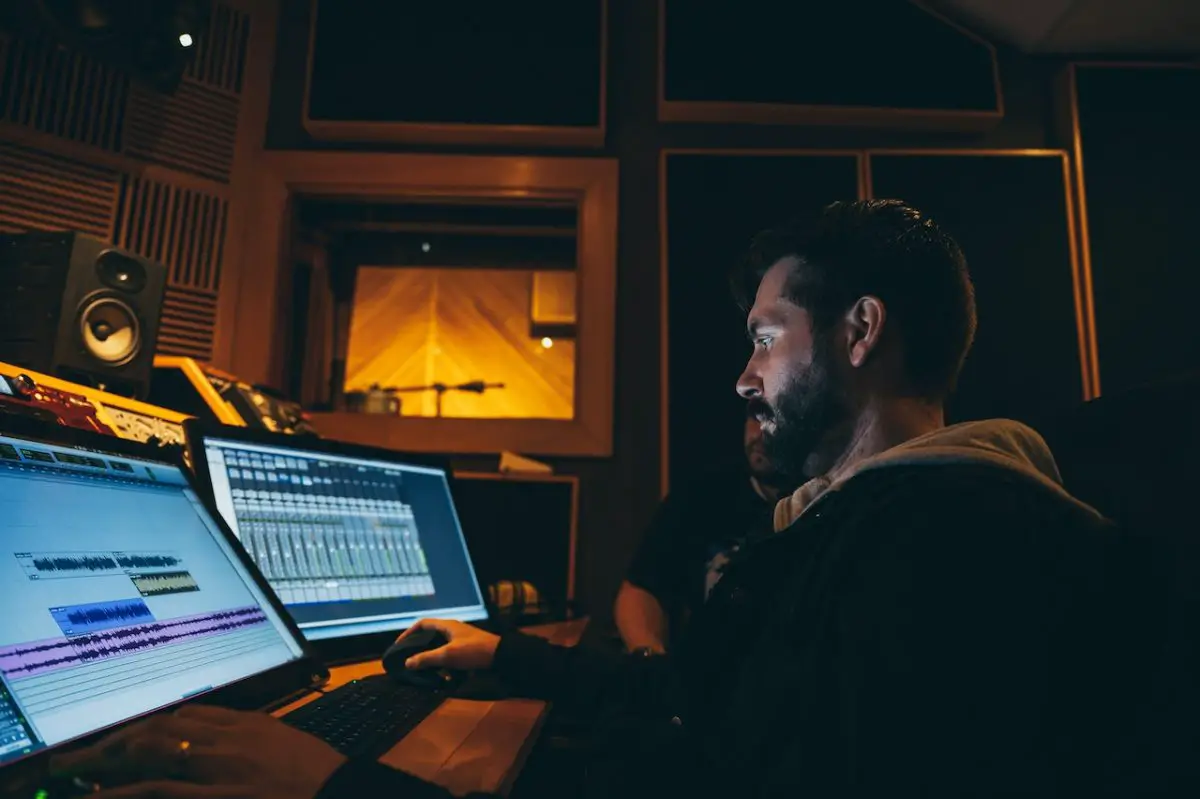
This occurs not just due to the inconvenient need for recording outside of a home environment but also because of the expenses of using a professional recording studio. The emergence of reasonably priced digital recording gear and software has made this feasible.
AKAI Professional MPK Mini MK3

AKAI Professional MPK Mini MK3
What can you do in a home recording studio?
A basic home recording studio requires essential equipment like a computer, an audio interface, headphones or studio monitors, and DAW (Digital Audio Workstation) software. With a home recording studio, you can create high-quality audio productions at your convenience.
The possibilities are endless. You can create music, voiceovers, podcasts, sound effects, or even record a band performance in a studio-like environment. With a computer and a DAW, you can record, edit, mix, and arrange your music using a variety of virtual instruments, effects, and plugins. You can experiment with different sounds, layer tracks, and add special effects to create unique compositions.
Whether you are a musician, producer, podcaster, or audio enthusiast, a home recording studio can help you achieve your audio production goals.
Additionally, you can use a home recording studio for post-production work like audio editing, sound design, and audio engineering for videos, films, or games. You can also collaborate remotely with other musicians and producers by sharing your recordings online and working together on a project from different locations.
With a well-equipped home studio, you can have a professional-level audio production setup at a fraction of the cost of a commercial studio and the flexibility to work on your own terms.
A home recording studio provides an opportunity to explore and create audio productions with a high level of flexibility and creativity. Whether you are a musician, producer, podcaster, or audio enthusiast, a home recording studio can help you achieve your audio production goals.
10 steps to building a professional home recording studio
When you’re designing a dedicated recording space, there are a few things to keep in mind.
1. Pick a space
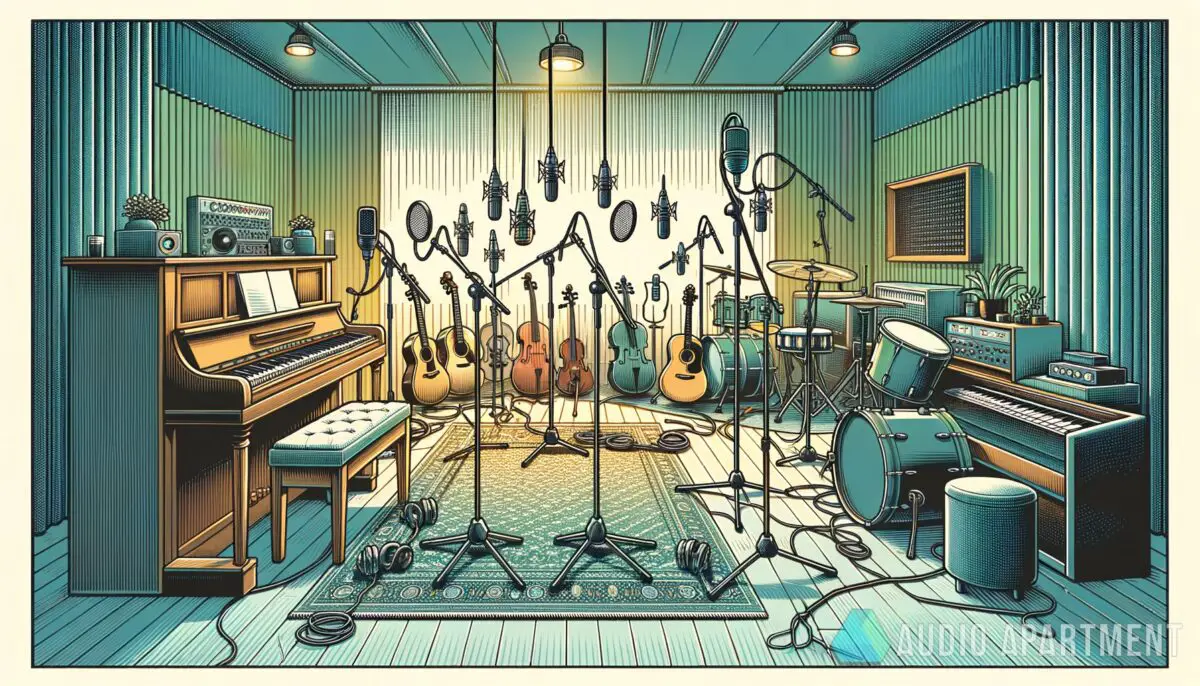
Exactly how big your home recording studio has to be is up to you. Do you want to record only drums or a whole band? The location should be big enough to house the band and all of its gear. You may use spaces like vast basements, extra garages, and so on.
To record voice, guitar, keyboards, and other individual instruments with just one or two people performing at once, a regular-sized spare room or bedroom might be adequate.
If you’re looking for a place to record, keep in mind to avoid square or low-ceilinged rooms. Because of the way sound waves interact with surfaces, a room with a low ceiling will act as a sound reflector. The resulting microphone recordings are distorted and difficult to understand. Since a high ceiling is unlikely, acoustic treatment of the ceiling is required.
2. Purchase a computer with high specs
Basic music production and recording capabilities are theoretically within reach of even the most modest consumer system or corporate laptop. When the intricacy of your production increases, the limitations of your computer’s hardware become apparent.
We advise spending your money on a powerful PC running a 64-bit OS. It has to support several songs, plugins, and sample libraries without stuttering. Be liberal with your spending plan and purchase the highest quality you can afford.
3. Choose an audio interface
An audio interface is a connection point between your computer’s digital audio hardware and the analog world of sound.
The number of inputs you require or the number of sources you want to capture at once should inform your decision on an interface. The number of inputs and outputs is the primary differentiating factor between audio interfaces. When there are additional inputs, more instruments or microphones may be recorded at once.
4. Have a pair of studio monitors
The goal of studio monitor design is to provide a “sonic flat” or “neutral” response with no accentuated or suppressed frequencies. They make sure your music sounds great on different consumer devices without changing your reference point.
If you want to mix and master your music at home, investing in a pair of high-quality reference speakers is a must. Still, it’s difficult to provide a concrete recommendation without first learning more about your individual configuration.
The standard size range for a monitor’s driver is anywhere from three to twelve inches. Greater simply said, larger drivers create more power and can play at lower frequencies. However, lower frequencies might become troublesome in untreated or tiny spaces, so more space isn’t always preferable.
Studio monitors with 5 or 6-inch drivers would work for rooms up to 8 by 10 feet. Studio monitors in the 6.5 to 8-inch range are your best bet if your space is bigger than 12 by 15 feet and you want a lower frequency response. Studio spaces larger than that often need extensive acoustic treatment, making them impractical for a beginner’s setup.
5. Select a digital audio workstation (DAW)
A digital audio workstation (DAW) is a software application used for recording, editing, mixing, and producing digital audio. It provides a complete set of tools and features for musicians, producers, and sound engineers to create, edit, and manipulate audio files on a computer.
A typical DAW includes a graphical user interface, audio playback, and recording capabilities, a virtual mixer for adjusting volume and effects, MIDI sequencing tools, and a range of audio effects and plug-ins for processing and manipulating sounds.
Many DAWs also include virtual instruments, such as synthesizers and drum machines, which can be played using a MIDI keyboard or programmed using the built-in step sequencer.
There are several options available if you’re looking for a DAW for your new home recording studio:
Free DAWs
This includes all open-source digital audio workstations (DAWs), such as Audacity, GarageBand, and BandLab’s Cakewalk. These are only suitable for those with no prior knowledge of audio production. If you’re really strapped for cash, you may use them until you can afford a professional digital audio workstation with all the bells and whistles.
Paid DAWs
Among the professional-level DAWs are FL Studio, Reaper, Pro Tools, Cubase, and Logic Pro X. There are notable differences in functionality, process, and cost. This is a topic that may keep us talking for a long time. In the end, it comes down to personal preferences in terms of features, user interface, and overall usability.
If you’re hesitant to pay for a full version, you may opt for the trial version instead. This allows you to “try out” the software for free before making a purchase decision.
Both Abelton Live and FL Studio shine when used for sample-based or electronic composition. If you’re using a Mac, you should absolutely be using Logic Pro X because of its extensive feature set. If you want to record, mix, and edit audio, you can do it quickly and easily using Reaper, Cubase, and Pro Tools.
Reaper, at $60 for a personal/small business license (albeit without any integrated virtual instruments), is the most affordably priced full-featured digital audio workstation currently available. You get two big updates to the software at this price.
If you’re hesitant to pay for a full version, you may opt for the trial version instead. This allows you to “try out” the software for free before making a purchase decision.
6. Load the microphones
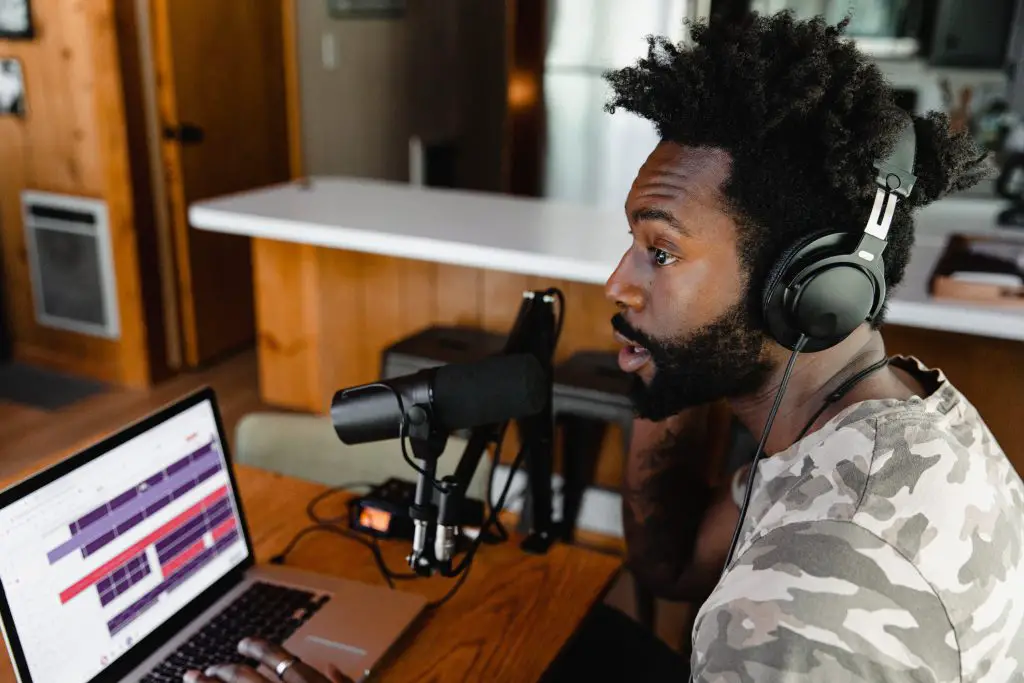
To capture sound, particularly for singing, acoustic guitar, and other instruments, a studio requires at least one or two microphones. Eventually, you may acquire a plethora of microphones. The best plan of action right now is to invest in one “workhorse” microphone and one “specialty” microphone.
Dynamic microphones like the Shure SM57 and SM58, or the Audio-Technica AT202, are reliable workhorses. These are tried and true methods that have been shown to work well in almost every circumstance. Every one of these microphones, on average, costs roughly $100.
Your “specialty” mic (condenser or specialty mic, if appropriate) should be tailored to your musical style. Some of the most popular condenser microphones include Rode NT1, Audio-Technica AT4053b, and Shure SM7B.
7. Choose a good pair of studio headphones and an amplifier
When generating or mixing, having reliable “cans” for monitoring or a second reference is crucial. Studio headphones should have a flat frequency response, much like monitors. A flat sound prevents any EQ or embellishments from being added, guaranteeing a faithful reproduction.
They ought to be pliable and provide a tight seal around your ears. Ergonomic layouts are crucial to preventing soreness and fatigue from extended use. On the other side, if the seal is adequate, no sound will seep into the microphone while you record.
As for amplifiers, in general, a solid-state amplifier or a digital modeling amplifier may be a good choice. These types of amplifiers offer a clean, consistent sound and often come with built-in effects and recording capabilities.
Some popular options for home recording studios include the Yamaha THR10II, the Fender Mustang LT25, and the Boss Katana-50 MkII. These amplifiers are relatively affordable, versatile, and offer good sound quality for recording purposes.
8. Get a midi keyboard
I debated making this mandatory, but MIDI keyboards are already standard in professional recording studios, and I can’t see anybody wanting to make music at home without one.
It’s not only about playing virtual instruments anymore; MIDI keyboards may now trigger automation, samples, patch changes, and more in the creation process. Using MIDI in post-production allows you to easily modify performances by removing, adding, or replacing tracks.
There are MIDI keyboards with as few as 25 keys and as many as 88, so you can choose one that fits your needs and your space. Depending on its size and functionality, a decent-budget keyboard might cost anywhere from $150 to $300.
9. Consider room treatment
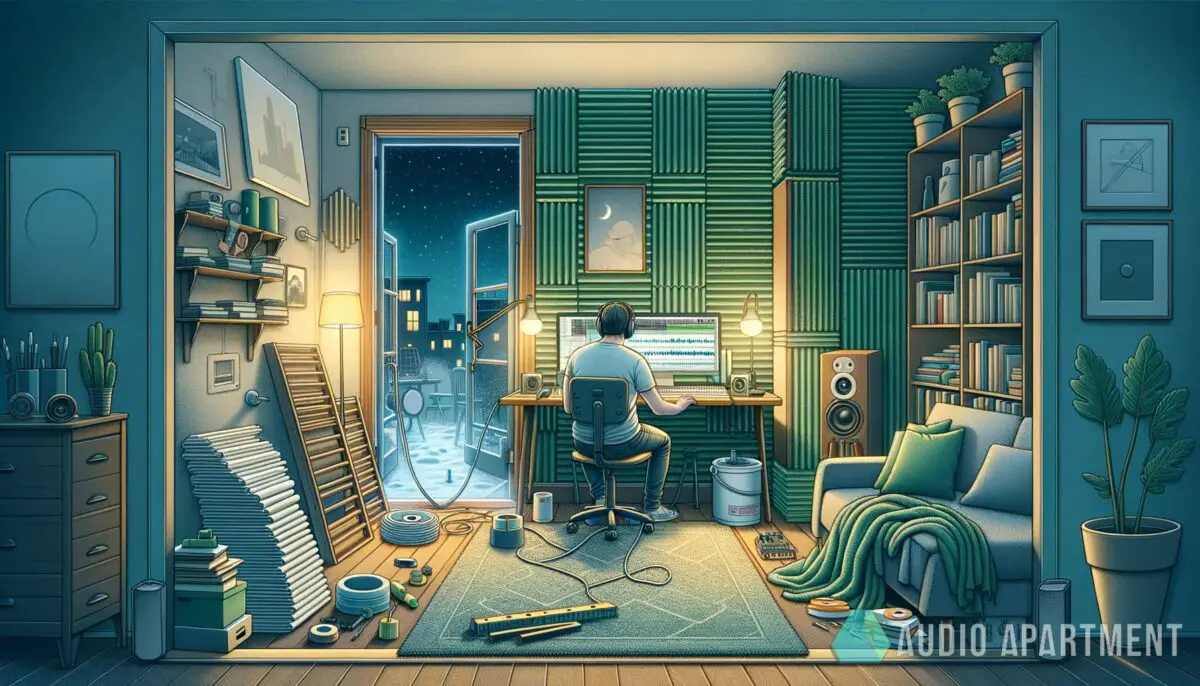
Sound reflections from walls and other surfaces are a major problem when using a microphone to record or while mixing a track. In order to get professional results in a home recording studio, proper room treatment is essential.
The use of specialized materials in the treatment of a room may significantly reduce such reflections. In compact spaces, bass frequencies are often the most difficult to manage. They can interact with the original sound wave and bounce off of walls to produce both bass boosts and bass nulls.
Panels of absorptive material such as foam, rock wool, or glass wool may be strategically placed to fight this and reduce low-end reflection. High-frequency reflections may also be dampened with the use of widely available acoustic foam.
To achieve optimal neutrality, a space may be “deaden” using a mixture of high- and low-frequency absorption materials. Measurements, materials, and costs for acoustical treatment may all be found with a quick search on the internet.
Although prefabricated room treatment kits are on the market, I would recommend instead procuring raw materials and working with a local carpenter to create a one-of-a-kind solution for your space. This option is often less expensive and better suited to the requirements of your space.
10. Round it up with cables and hardware
There are a plethora of ancillary factors to take into account, from keyboard stands to voice booths to screen arms. A few of these are required, while the rest are recording-specific (such as electric guitar amps). To maximize efficiency and convenience, you may store as much as feasible.
A pop filter for condenser microphones and a microphone stand are two necessities. When utilizing a condenser microphone to capture voices, it’s crucial to use a pop filter. The good news is that you may choose whatever one you locate first since they all essentially accomplish the same thing.
Good microphone stands are an absolute must. There should be a robust mic stand. A cheap one may easily fall, as I have seen numerous times. I’d rather spend a little more on something of better quality than have to deal with a busted condenser.
Last but not least, you’ll want a selection of instrument cables and microphone cables, namely XLR cables for dynamic microphones. You’ll typically need three cables: one long XLR cable to connect your microphone to the audio interface and two short XLR cables to connect your audio interface to your studio monitors.
XLR cables are a type of audio cable that is commonly used to connect microphones and other audio equipment. They are known for their durability and reliability, making them a popular choice in the professional audio industry. They are available in various lengths and configurations to suit different audio setups.
If you want even more tips and insights, watch this video called “HOW TO: Setup a Home Music Studio for Beginners (2022)” from the Edward Smith YouTube channel.
Frequently asked questions (FAQ)
Do you still have questions about building a home studio? Below are some of the most commonly asked questions.
How much does it cost to make an at-home studio?
Depending on the state of your recording studio’s technology, the price might range from $500 to $20,000. It’s possible to set up a recording studio with only a new laptop and some mics, or you may go all out and invest in a soundboard and some synths.
What is the difference between a home studio and a professional studio?
One of the biggest differences is in the room acoustics and sound-absorbing material used. Professional studios are typically designed to provide the truest representation of sound being played from the studio monitors. However, today’s technology makes it possible to replicate this type of setup at home.
Are home studios profitable?
Yes. Recording, producing, mixing, and mastering are all services that may be offered by a home studio. If you have a home studio, you may use it to make some extra money on the side. If you can efficiently manage your time and finances, a home recording studio may be a lucrative business.
What is the most important thing in a studio?
Microphones are a crucial part of any recording studio. Though most studios will have more than one, it’s preferable to have a single excellent one rather than a number of just adequate ones. Your choice of microphone should be based on the instrument you want to record.
Conclusion
So, now that you know everything about working in a home studio, it’s time to grab your favorite equipment and get started. The important thing to remember is that you need to have the right mindset when setting up your studio. That means planning ahead and putting aside enough space.
So, are you thinking of building your professional studio? And did I cover everything you wanted to know? Let me know in the comments section below (I read and reply to every comment). If you found this article helpful, share it with a friend, and check out my full blog for more tips and tricks on music production. Thanks for reading, and never stop making music.
Key takeaways
This article covered the steps on how to build a home recording studio. Here are some key takeaways:
- You can create professional-quality audio recordings in the comfort of your own home with the help of a home recording studio.
- When you’re designing a dedicated recording space, there are a few things to keep in mind.
- Consider the audio equipment and instruments you would need when deciding where to build your home recording studio.
- Some of the equipment you need for your home recording studio are a computer, an audio interface, a pair of studio monitors, microphones, and cables.
- A digital audio workstation (DAW) is a software application used for recording, editing, mixing, and producing digital audio.

