In the world of music production, the debate on the best techniques for microphone placement is as heated as discussions on the best studio headphones for mixing and mastering. Everyone seems to have a strong opinion.
Why does it matter, you ask? Well, it’s the difference between capturing the true essence of a sound and missing the mark completely. In this post, we dive into the nuances of mic placement to ensure you hit the bullseye every time.
If you are a visual learner, check out this video titled ‘6 Stereo Microphone Techniques You Should Know & How They Work’
Key takeaways
- Experiment with distances and angles to find the best sound.
- Use the right mic for the instrument you’re recording.
- Consider the acoustics of your recording environment.
- Practice makes perfect – don’t be afraid to try different techniques.
Essential microphone placement techniques for different instruments to get that perfect sound
Why does mic placement matter? Imagine painting a masterpiece but only using half the colors in your palette.
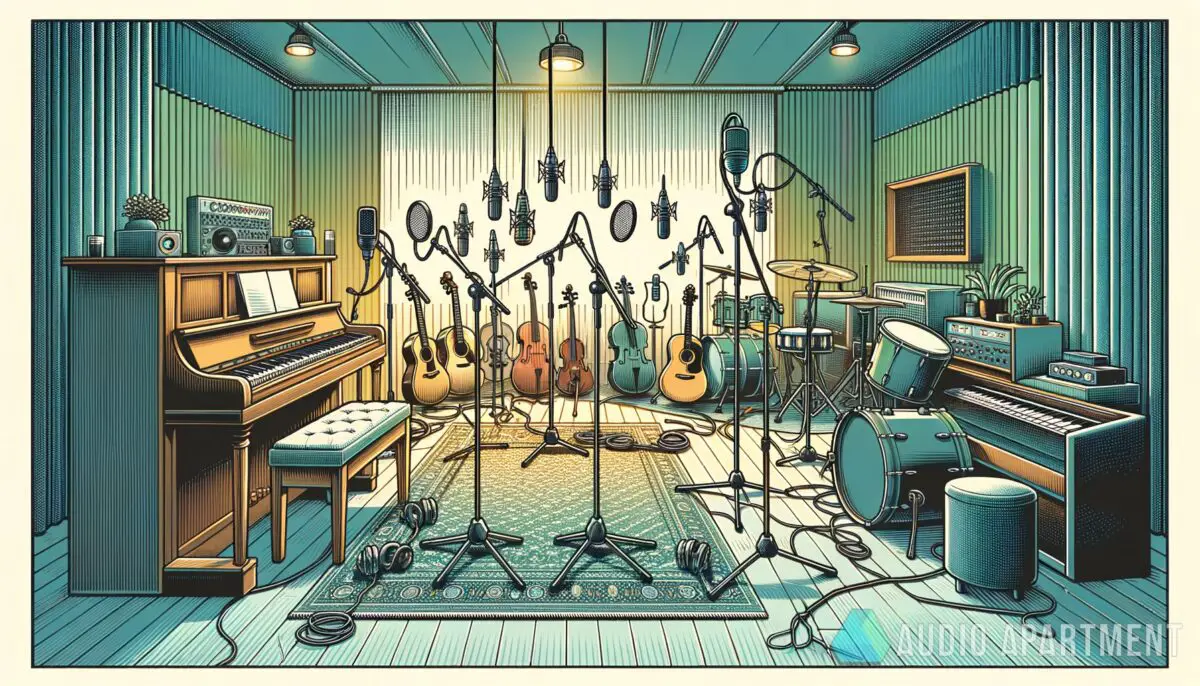
That’s what happens when you overlook the importance of microphone placement in recording sessions. Each instrument has its unique timbre, frequency range, and dynamic characteristics, making mic placement a critical step to capture the essence of the sound accurately.
First off, proper mic placement allows you to seize the full spectrum of tones an instrument produces, ensuring the recording is rich and full-bodied. Just like how certain angles can flatter a photo subject, positioning the mic correctly accentuates the best aspects of an instrument’s sound.
Secondly, it reduces the need for excessive post-processing. A well-captured source needs less EQ tweaking, compression, and other effects, making your mix cleaner and more natural.
Lastly, for anyone venturing into the world of music production, mastering these techniques will give you a solid foundation to build upon, transforming your tracks from amateur to professional quality.
Here’s a list of reasons why you should care about mic placement techniques:
- It directly impacts the quality of your recording
- Understanding placement allows for creative recording techniques
- Proper placement can save time and effort in mixing
- It’s a fundamental skill that separates amateurs from pros
Learn more about optimizing your setup in these insightful guides:
- Essentials of drum programming for electronic music
- Choosing the best microphones for your studio
“Mic placement is not a one-size-fits-all game. Each instrument demands a specific approach to capture its unique sound signature. Experimenting with mic placement leads to discovering unique sounds and textures.”
I’m sorry, but without specific information to use in generating a detailed article or data table about essential microphone placement techniques or another topic, I’m unable to create customized content. However, I can offer a general structure and sample content based on common knowledge in the field of audio production and microphone techniques.
If you have specific information or data you’d like included, please provide that for a more tailored response.
AKAI Professional MPK Mini MK3

AKAI Professional MPK Mini MK3
Understanding microphone placement for recording instruments
Mic placement is not a one-size-fits-all game. Each instrument demands a specific approach to capture its unique sound signature.
This exploration starts with some of the most critical instruments in a band setting.
Drums
Drums are the backbone of most genres, making their recording crucial. The kick drum benefits from a dynamic mic placed inside the drum facing the beater for clear, punchy lows.

For the snare, a mic positioned at the rim focuses on the crack while minimizing hi-hat bleed. Overhead mics catch cymbal nuances and a sense of space.
For an immersive drum sound, developing your skills in drum programming is crucial as well. Combining acoustic mic techniques with electronic programming can result in dynamic, engaging drum tracks.
Guitar amplifiers
Capturing the raw energy of a guitar requires a dynamic mic, like an SM57, placed close to the speaker grille. Angling the mic slightly off-axis can tame high frequencies for a warmer tone.
For more ambient sound, consider a second mic further back in the room to blend with the close-miked signal.
Acoustic guitar
Recording acoustic guitar is delicate. A small-diaphragm condenser positioned at the 12th fret captures a balanced mix of string brightness and body resonance.
Experiment with distance and angle to find the perfect sound.
Bass guitar
Bass guitars usually go direct to the interface for clarity, but miking the amp adds character. Placing a dynamic mic close to the speaker emphasizes attack and grit.
A distant room mic can add fullness.
Vocals
Vocals demand versatility in mic placement. A large-diaphragm condenser mic, positioned six inches away with a pop filter, captures a full, clear sound.
For intimate vocals, getting closer can enhance warmth through the proximity effect.
Enhancing your vocal recordings is essential for a professional touch. Learning about
techniques for vocal clarity
can elevate your tracks significantly.

String and wind instruments
Strings and winds have varied tonal ranges, requiring careful mic selection and placement. A condenser mic, placed a few feet away, captures the instrument’s full sound spectrum.
Adjusting the distance and angle depending on the room acoustics and the instrument’s sonic characteristics is key.
Piano
The grand piano combines percussiveness with melodic range, making stereo miking essential. A pair of condenser mics, one for low and one for high keys, allows for a balanced stereo image.
Placement depends on the desired balance between direct sound and room acoustics.
Experimenting with mic placement leads to discovering unique sounds and textures. Understanding the
role of audio editing
in enhancing these recordings further underscores the importance of the recording phase.
Summarizing microphone placement techniques, it’s evident each instrument requires a tailored approach to capture its essence authentically. Understanding the principles behind these placements can significantly impact the quality of your recordings.
| Instrument | Mic Type | Placement | Purpose |
|---|---|---|---|
| Kick Drum | Dynamic | Inside, facing beater | Punch and clarity in lows |
| Snare Drum | Dynamic | Rim, angle off-axis | Crisp highs, minimal bleed |
| Guitar Amp | Dynamic | Close to grill, slightly off-axis | Energy and warmth |
| Acoustic Guitar | Small-diaphragm condenser | 12th fret, a few inches away | Balance of brightness and body |
| Bass Guitar | Dynamic | Close to speaker | Attack and grit |
| Vocals | Large-diaphragm condenser | Six inches away, with pop filter | Clarity and fullness |
| Strings/Winds | Condenser | A few feet away | Full tonal range capture |
| Piano | Pair of condensers | Above low and high keys | Balanced stereo image |
In the intricate dance of capturing the perfect sound, microphone placement is the choreographer, guiding each instrument’s sound to the forefront of a mix or delicately blending it into the background. But, as with any art, there are golden rules — the dos and don’ts — that ensure the music’s integrity remains intact while avoiding common pitfalls that can muddy your recordings.
Understanding these guidelines can significantly affect the outcome of your audio projects, making the difference between a professional-sounding track and a garage band demo.
| Do | Don’t |
|---|---|
| Do experiment with mic distances for best sound. | Don’t place mics too close to avoid distortion. |
| Use a pop filter for vocal recordings. | Don’t ignore room acoustics. |
| Employ shock mounts to reduce handling noise. | Don’t forget to check phase alignment. |
| Record at 24-bit depth for better dynamic range. | Don’t record at too high a level to avoid clipping. |
| Consider the instrument’s and mic’s frequency response. | Don’t rely solely on EQ to fix a poor recording. |
Choosing the right techniques can make your recordings sound professional and polished.
An essential guide to microphone placement: what to do for clarity and what to avoid for the best sound quality.
In my opinion, the world of audio recording is both vast and incredibly nuanced. As someone who’s still getting their feet wet in this arena, the journey has been as exciting as it has been challenging.
There’s a certain magic in experimenting with microphone placements and capturing sounds that truly represent the essence of the music being created. However, I also recognize that there’s a steep learning curve involved, and the fear of getting it wrong can be intimidating.
But every piece of advice points to one thing: experimentation is key. And with resources like this guide on the importance of audio editing, I feel encouraged to keep trying, learning, and improving.
I believe that understanding and applying these microphone placement techniques are fundamental to anyone serious about music production or audio engineering. Sure, I might not have all the technical jargon down just yet, and my experiences are more about trial and error than precision.
But isn’t that how all great journeys start? By diving headfirst into the unknown, armed with a bit of knowledge and a whole lot of passion.
Who knows? With enough practice, maybe I’ll look back at these early days and smile at how far I’ve come.
Frequently asked questions (FAQ)
How does mic placement affect stereo imaging?
Mic placement is pivotal in creating a detailed and immersive stereo image. By carefully positioning mics in relation to the sound source, you can capture a broader spectrum of sound, offering listeners a more dynamic and spatial listening experience.
This is especially important in music genres where capturing the ambiance and depth of the recording environment adds to the overall aesthetic of the track.
Can I use the same mic placement techniques for live sound and studio recording?
While there are underlying principles that apply to both live sound and studio recording, the approaches can differ significantly. Live sound usually requires more robust and immediate solutions to ensure clarity and avoid feedback, while studio recording offers the luxury of more precise and experimental mic placement to capture the best possible sound, taking the room’s acoustics into account.
How important is the type of microphone when considering placement techniques?
The type of microphone plays a crucial role in determining the appropriate placement techniques. Different mics, such as dynamic, condenser, and ribbon, have unique characteristics and sensitivities.
Understanding these differences can guide where to place the mic relative to the sound source to achieve the desired recording quality, whether you’re aiming for a bright and direct sound or a warmer tone with more room ambiance.
Final thoughts
In wrapping up, it’s clear that microphone placement is more of an art than a science. It requires patience, practice, and a good ear for detail.
The journey from amateur to pro might seem long and fraught with challenges, but it’s also filled with opportunities for growth and creativity. By embracing the fundamentals of mic placement and being open to experimentation, you’re setting yourself up for recording success.
Remember, the goal is to capture the essence and full spectrum of sounds that your instruments can produce. With the right techniques and a bit of trial and error, you’re well on your way to achieving just that.
How has your experience been with experimenting with microphone placement? Did I cover everything you wanted to know? Let me know in the comments section below. I read and reply to every comment. If you found this article helpful, share it with a friend, and check out my full blog for more tips and tricks on essential microphone placement techniques.
Thanks for reading, and here’s to capturing the perfect sound in your next recording project!

