Picture this: You’re in the studio, the vibe is just right, the melody is humming in your head, and you’re ready to bring it to life. But there’s a catch – your mix is sounding flat. It might be your outboard gear game that needs a level-up. So, what is an outboard gear in audio production? Let’s dive into the basics and figure out how it can help enhance your music.
What is outboard gear? Outboard gear refers to all the standalone physical devices like compressors, equalizers, and reverb units used in a recording studio to shape and enhance the sound quality of an audio signal.
What is outboard gear?
Outboard gear refers to external audio processing equipment used in recording and mixing audio. These are separate hardware units that handle tasks such as equalization (EQ), compression, reverb, and other effects. They include devices like microphones, mixers, amplifiers, and effects units.
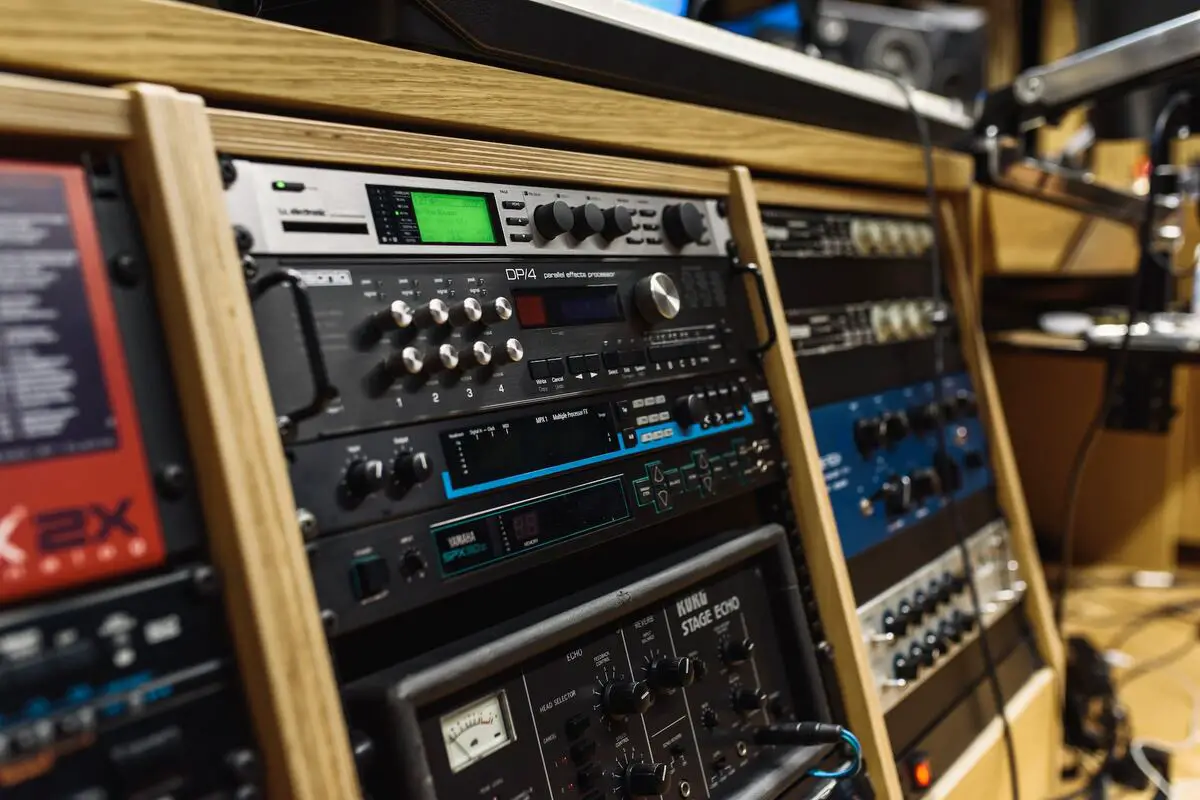
These types of equipment are often used in professional recording studios for their unique sound characteristics and high-quality processing capabilities. Think of your music like a plain, unadorned canvas. It’s not much to look at in its raw state. But once you start adding colors, textures, and layers, that’s when it really starts to pop and catch the eye.
AKAI Professional MPK Mini MK3

AKAI Professional MPK Mini MK3
Why is outboard gear important for music producers?
No matter how great your raw recording is, it’s the processing that really makes it shine. And that’s where outboard gear steps in. The unique character they bring to the sound often cannot be replicated by digital plugins or “in-the-box” processes. This can be a crucial part of achieving a particular sound or vibe in a recording.
Some producers opt for a combination approach, recording both the outboard-processed signal and the raw source signal onto separate tracks at the same time. This way, they capture the output of their meticulously prepared recording chain and the raw sound, giving them more flexibility during mixing.
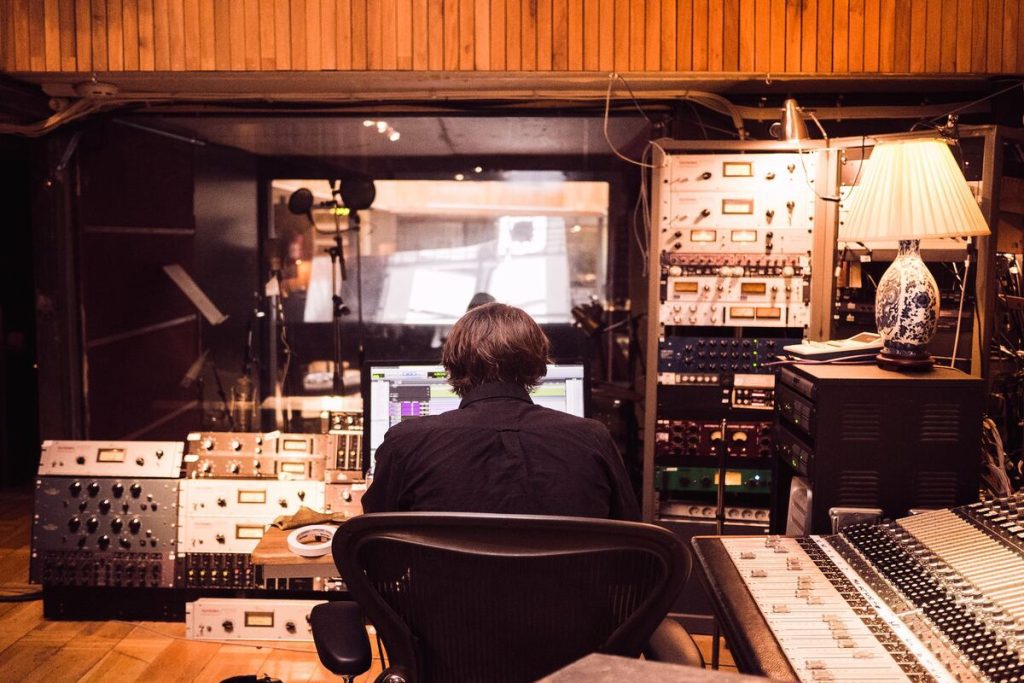
Consider a scenario where a track is being produced and the vocals aren’t standing out in the mix. You’ve tried fiddling with the levels, but nothing seems to work. Enter the compressor. This nifty piece of outboard gear can help manage the dynamic range of your track, making sure the other elements don’t drown out the vocals.
Here’s a little “dos and don’ts” table for using outboard gear:
| DOs | DON’Ts |
|---|---|
| Do experiment with different gear to find what suits your style. | Stick to the same settings without exploring other possibilities |
| Start with neutral settings and make small adjustments. | Don’t use gear you don’t fully understand. |
| Do use outboard gear to enhance your mix. | Make drastic changes without careful monitoring. |
What are the different types of outboard gear?
You’ve got a handle on why outboard gear is important in audio production. But what types of outboard gear are out there, waiting to elevate your tracks from good to gramophone-worthy?
- Equalizers or EQs: These are used to adjust the balance between different frequency components within an audio signal. They operate by increasing (boosting) or decreasing (cutting) the levels of specific frequencies or ranges of frequencies.
- Compressors: Compressors work by reducing the volume of loud sounds or amplifying quiet sounds, thus ‘compressing’ the dynamic range. This process can help ensure that the audio does not get too loud or too soft, and it can help maintain a balanced mix.
- Reverb units: Reverb units are devices that create a reverberation effect, or echo, which simulates sound reflections in a physical space. By adjusting the settings on a reverb unit, you can make a sound seem like it’s in a small room, a large hall, or even a cathedral.
- Delay units: These are like the echo chambers of your audio setup, repeating certain parts of your audio to create a sense of space or to add some extra flavor to your mix. Think of the iconic guitar sound on U2’s “Where The Streets Have No Name” – that’s a delay unit at work.
- Effects processors. These are the wild cards of outboard gear, capable of transforming your audio in ways you never thought possible. From distortion and overdrive to flange and phaser effects, these units can add a unique touch to your sound and really set your tracks apart.
How do you use outboard gear in your studio setup?
Let’s get into actually using outboard gear in your studio. Here is a step-by-step guide on using outboard gear:
- Connect your gear: Begin by hooking up your outboard gear to your audio interface. As a general rule, use the output from your interface and connect it to the input of your gear, then take the output from your gear and connect it back into the interface.
- Establish the signal flow: Establish a clear signal flow, understanding how the audio signal travels from the source, through the outboard gear, and back into your audio interface or mixing console. A clear signal flow is vital to avoid any noise or unwanted distortion.
- Adjust the settings: Begin with all settings at their neutral point and start adjusting slowly from there. Outboard gear often has knobs and buttons for adjusting parameters such as gain, EQ, compression, and more. Make small adjustments, listen carefully to the changes in the sound, and fine-tune as necessary.
- Process the Audio: Now, you can start processing your audio. Depending on the gear, this could involve tasks like equalization, compression, gating, adding reverb, delay, or other effects. Pay careful attention to your audio levels to prevent clipping or distortion.
- A/B comparisons: Regularly bypass your outboard gear to compare the processed and unprocessed signals. This will help you understand the changes you’re making to the sound and decide if they’re beneficial.
- Save your settings: If you’re working on a project that will span multiple sessions, it may be necessary to note down your settings. Unlike plugins, outboard gear doesn’t have an automated recall function, so keeping a record of your settings can be very useful.
Advantages and disadvantages of using outboard gear
Alright, so you’re thinking about diving into the world of outboard gear. Great! But let’s weigh the pros and cons, shall we?
Advantages of using outboard gear
Here’s how outboard gear can seriously level up your audio game:
- Superior sound quality: This can be due to superior analog-to-digital converters in high-end audio interfaces, the unique warmth of analog circuitry, or the often superior build and component quality of outboard gear.
- Hands-on control: Turning physical knobs and dials can give you a more intuitive understanding of sound manipulation.
- Longevity: High-quality outboard gear can last a lifetime if properly maintained.
- Value retention: Many pieces of outboard gear hold their value well, making them a good investment.
Disadvantages of using outboard gear
Here are some potential downsides to consider:
- Cost: High-quality outboard gear can be pricey, especially for those just starting out.
- Space requirements: Each piece of gear needs physical space in your studio, which can be a challenge for home producers.
- Learning curve: It can take time to get the hang of using each piece of gear effectively.
- Limited flexibility: Unlike plugins, you can’t just duplicate a piece of outboard gear in your signal chain without buying another unit.
If you want even more tips and insights, watch this video called “Exploring Iconic Outboard Gear with Young Guru” from the Mix with the Masters YouTube channel.
Frequently asked questions (FAQ)
Do you still have questions about outboard gear? Below are some of the most commonly asked questions.
What is the difference between analog and digital outboard gear?
Analog gear processes audio signals as continuous electrical signals, which many believe provide a warmer and more natural sound. Digital gear, on the other hand, processes audio as binary data (0s and 1s), allowing for more precise control and repeatability.
Does outboard gear require regular maintenance?
Just like any other electronic device, outboard gear needs some TLC to keep it performing at its best. This could mean anything from regular cleaning to replacing worn-out components. Always refer to the manufacturer’s guidelines for maintenance recommendations.
Is outboard gear only for professional studios?
Not at all, dude! While professional studios indeed make extensive use of outboard gear, there’s no rule that says home studios can’t benefit from it too. If you’re passionate about your sound and want the best quality possible, outboard gear can be a fantastic addition to your setup, no matter the size of your studio.
Conclusion
Outboard gear continues to hold an irreplaceable place in the heart of music production. As we wrap this up, I gotta ask: Did this article hit the right note for you? And did I cover everything you wanted to know? Let me know in the comments section below – I read and reply to every comment. If you found this article helpful, share it with a friend, and check out my full blog for more tips and tricks on audio production. Thanks for reading, and keep those beats banging!
Key Takeaways
This article covered the intriguing world of outboard gear in audio production. Here are some key takeaways:
- Outboard gear refers to external audio processing units that can improve the quality and character of your sound.
- Using outboard gear involves connecting the gear to your audio interface and adjusting settings to achieve your desired sound.
- Popular types of outboard gear include compressors, equalizers, reverb units, and preamps.
- Outboard gear offers advantages like the superior sound quality and hands-on control but also has downsides like cost, space requirements, and limited flexibility.

