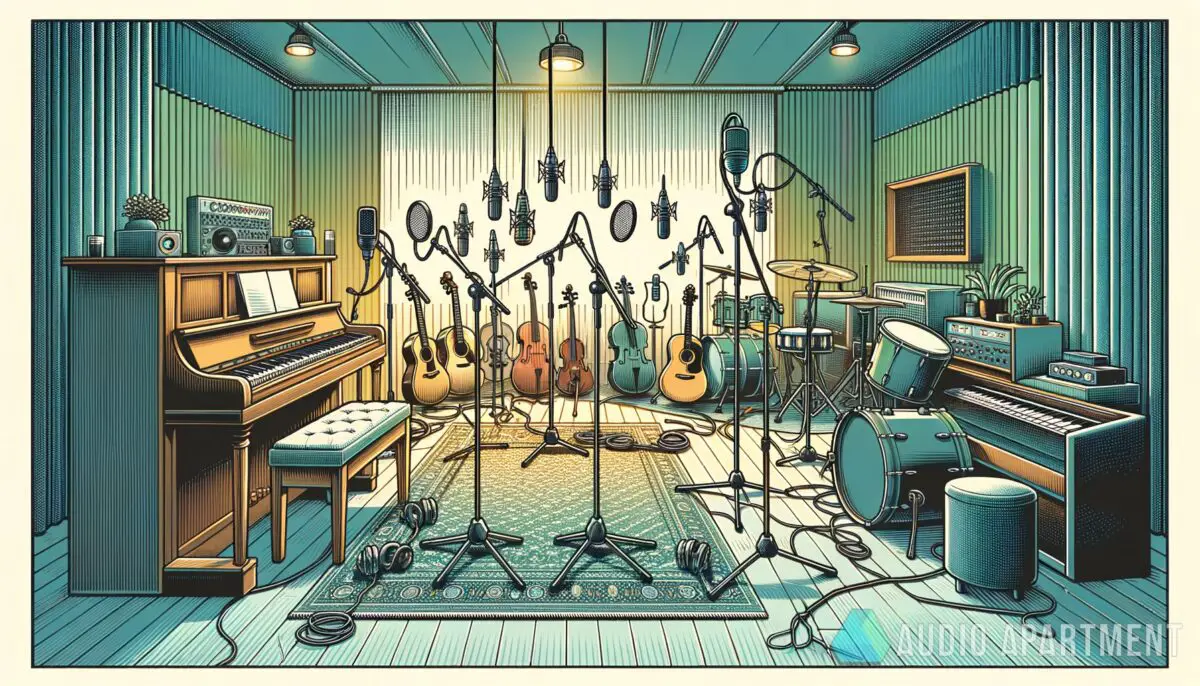
Picture this: you’ve got your sick home studio set up, everything’s plugged in, and you’re ready to lay down some epic tracks with your buddies. You hit record and start jamming, but when you play back the recording, it sounds like you’re playing inside a tin can. Bummer, right?
Well, fear not! The solution is microphone placement. The secret to capturing your musical magic is all about where you put your mics. It’s time to level up your recording game, learn some microphone placement techniques, and kiss those tin-can recordings goodbye. Ready to embark on the quest for the perfect sound? Let’s dive in, and don’t worry – we won’t leave you “mic’d” up about it!
What is microphone placement? Microphone placement refers to the art and science of positioning microphones relative to sound sources, such as instruments or vocals, to achieve the desired sound quality and characteristics in a recording.
Why is microphone placement crucial for recording?
Microphone placement isn’t just some fancy buzzword; it’s the key to unlocking your recording’s true potential. When you get your mic positioning just right, you’ll capture the sweetest, most authentic sound that’ll make your mix stand out. But, if you miss the mark, you could end up with a flat, dull, or even distorted recording. Ouch!
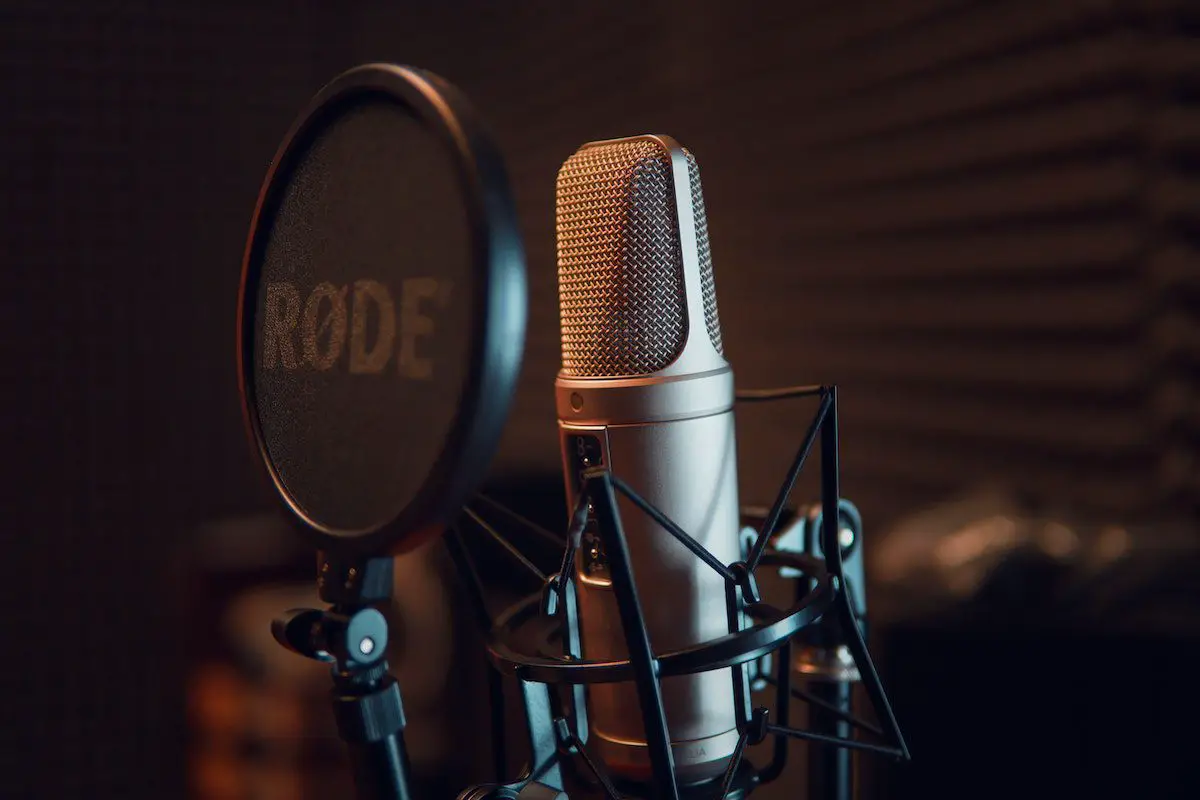
Let’s look at an example: say you’re recording an acoustic guitar. If you place the mic too close to the soundhole, you’ll capture a boomy, overpowering low end. Move the mic a little further away and aim it at the 12th fret, and suddenly, your guitar sounds balanced, crisp, and full of life.
Just remember, every instrument and voice is unique, so the perfect mic placement will depend on the specific sound you’re after. Experimentation is key, but keep these fundamentals in mind:
- Distance: Moving the mic closer or further away from the sound source affects the balance of direct and reflected sound.
- Angle: Adjusting the angle of the mic changes the tonal balance and can help minimize unwanted reflections.
- Height: Raising or lowering the mic can alter the balance between direct sound and room ambiance.
Now, let me tell you about the first time I really grasped the power of microphone placement. I was just starting out as a music producer and had this killer idea for a track. I spent hours setting up my gear and getting my instruments ready. Then, I hit record, feeling like a total boss. But when I played back the recording, it sounded like a hot mess. All that excitement and anticipation quickly turned to frustration.
That’s when I realized I had overlooked the importance of microphone placement. I started researching, watching tutorials, and asking experienced producers for advice. I learned that proper mic positioning is essential to capturing high-quality sound. So, I spent time experimenting with different placements, and eventually, I nailed it! My track finally sounded like the masterpiece I knew it could be. Trust me, once you get the hang of microphone placement, there’s no turning back!
AKAI Professional MPK Mini MK3

AKAI Professional MPK Mini MK3
How do different types of microphones affect optimal placement?
Different types of microphones have their own unique characteristics, which means they play by their own rules when it comes to placement. Let’s get down to the nitty-gritty of the two most common mic types: dynamic and condenser mics.
Dynamic microphones
These bad boys are known for their durability, making them ideal for handling high sound pressure levels (SPL) and live performances. However, they tend to be less sensitive than condenser mics, so you’ll usually want to place them closer to the sound source.
Condenser microphones
Condenser mics, on the other hand, are the sensitive souls of the microphone world. They’re more delicate and better suited for capturing subtle nuances in sound, making them a popular choice for studio vocals and acoustic instruments. Since they’re more sensitive, you can place them a bit further away from the sound source without losing quality.

What are common techniques for placing microphones?
Let’s dig into some popular mic placement techniques you can use to make your recordings sound dope. These techniques are like recipes for audio success, so grab your apron and let’s get cookin’!
1. Close miking
Close miking is all about getting up close and personal with your sound source. You’ll typically place the mic within a few inches of the instrument or vocalist. This technique is great for capturing direct sound with minimal room ambiance.
Example: For an electric guitar amp, place a dynamic mic about 1-2 inches from the grill cloth, slightly off-axis from the center of the speaker cone.
2. Ambient miking
If you want to capture the vibe of the room, ambient miking is your go-to technique. Position the mic a few feet away from the sound source to pick up more of the room’s natural reverb and reflections.
Example: To record a drum kit with a roomy sound, place a pair of condenser mics in a stereo configuration several feet away from the kit.
3. Stereo miking
Stereo miking is all about capturing a spacious, immersive sound by using two mics to record the same sound source. There are a few different stereo techniques to choose from, like X-Y, ORTF, and spaced pair, each with its own unique sound.
Example: For an X-Y configuration, position two matched condenser mics at a 90-degree angle, with their capsules as close together as possible. This setup works well for recording acoustic guitar or piano.
4. Mid-side (M-S) miking
Mid-side miking is a super cool technique that uses two mics – one cardioid (the “mid” mic) and one figure-8 (the “side” mic) – to capture a wide stereo image with adjustable width during post-production.
Example: To record a string quartet, place the mid mic facing the ensemble and the side mic positioned perpendicular to the mid mic, with its null points aimed at the sound source.
Here’s a handy comparison table for you to use when deciding which mic placement to use.
| Microphone Placement | Best-Suited Applications | Advantages | Disadvantages |
|---|---|---|---|
| Close Miking | Studio vocals, podcasts, radio broadcasts | Provides intimate, detailed sound; minimizes room ambience | May lead to proximity effect (bass boost); high risk of plosives |
| Overhead Miking | Drum kits, orchestras, choir | Captures the ‘big picture’ of the sound source; minimizes phase issues | Requires good room acoustics; less detailed than close miking |
| Ambient Miking | Live recordings, film audio, Foley | Captures the ‘feel’ of the room or environment; adds depth and space | Can lead to a ‘distant’ or ‘echoey’ sound; sensitive to unwanted noise |
Now you’ve got a handful of go-to mic placement techniques to experiment with in your own recordings. Remember, these are just starting points – feel free to mix and match or put your own spin on things. After all, the best mic placement is the one that makes your tracks sound totally rad!
How can you experiment with microphone placement to capture unique sounds?
If you’re all about pushing the envelope and discovering new sonic territories, experimentation is your best friend when it comes to mic placement. Sure, there are tried-and-true techniques that work great for most situations, but sometimes you gotta break the rules to find that one-of-a-kind sound. Here are some tips to help you think outside the (mic) box:
1. Play with mic distance
Don’t be afraid to move your mic closer or further away from the sound source. Going for a more intimate sound? Try close miking. Want to capture the room’s ambiance? Give your mic some space!
Example: If you’re recording a singer, try placing the mic at varying distances to find the perfect balance between direct vocals and room reflections.
2. Experiment with mic angles
Changing the angle of your mic can have a big impact on the tonal balance of your recording. Aiming the mic directly at the sound source will result in a brighter sound, while angling it off-axis will produce a darker tone.
Example: When recording an acoustic guitar, experiment with pointing the mic toward the soundhole, the bridge, or the neck to find the sweet spot for your specific instrument.
Get creative and mix it up by using different mic types and techniques simultaneously.
3. Combine different mic types and techniques
Get creative and mix it up by using different mic types and techniques simultaneously. For instance, you can use a dynamic mic for close miking and a condenser mic for ambient miking, then blend the two signals in post-production for a rich, full-bodied sound.
Example: If you’re recording a drum kit, try using a combination of close miking, overhead miking, and room miking to capture the entire sonic spectrum.
4. Listen and learn
The most important part of mic placement experimentation is using your ears. Record multiple takes with different mic positions and listen back to them, comparing the tonal differences and deciding which one best suits your creative vision.
If you want even more tips and insights, watch this video called “Where should you place your microphone?” from the SoundGuys YouTube channel.
Frequently asked questions (FAQ)
Do you still have questions about microphone placement? Below are some of the most commonly asked questions.
What are the main factors to consider when placing a microphone?
When it comes to mic placement, you should consider the type of microphone (dynamic or condenser), the sound source you’re recording, and the desired sound you want to capture. Experiment with mic distance, angle, and different mic types to achieve the best results for your specific recording situation.
How does the room acoustics affect microphone placement?
Room acoustics can play a significant role in the sound of your recordings. A well-treated room will produce a cleaner sound with fewer unwanted reflections and resonances. When placing a microphone, consider the room’s characteristics and how they will impact the sound you’re trying to capture.
Can I use multiple microphones for a single sound source?
Absolutely! Using multiple microphones can help you capture a more diverse range of sounds from a single source. You can blend signals from different mic types, distances, and angles in post-production to achieve a rich, full-bodied sound. Just make sure to be mindful of potential phase issues when using multiple mics.
Conclusion
Well, it looks like we’ve reached the end of our microphone placement journey. Who knew mic placement could be such a “sound” investment in your music production?
But seriously, whether you’re recording vocals, instruments, or the sound of a wild stampede, understanding the art and science of mic placement can make a world of difference in your recordings. Now go forth and make some sweet, sweet music!
Before I let you go, I have a question for you: What’s your favorite mic placement trick or technique? And did I cover everything you wanted to know? Let me know in the comments section below (I read and reply to every comment). If you found this article helpful, share it with a friend, and check out my full blog for more tips and tricks on microphone placement. Thanks for reading, and keep on rockin’!
Key takeaways
This article covered microphone placement and its importance in music production. Here are some key takeaways:
- Microphone placement affects the sound quality and character of your recordings.
- Different types of microphones, such as dynamic and condenser mics, have unique characteristics that influence optimal placement.
- Common techniques for placing microphones include close miking, ambient miking, stereo miking, and mid-side (M-S) miking.
- Experimenting with mic distance, angle, and type can help you capture unique sounds and find the perfect balance for your recordings.
- Room acoustics and using multiple microphones can also play a significant role in the outcome of your recordings.

