Have you ever tried to rock a killer jam, only to have it sound like a garbled mess? Like that time I realized even the best studio monitors won’t save a bad mix.
Why does gain staging light up studio chats more than a new sneaker drop? Why should you care about gain staging? This post will turn up the volume on understanding gain staging’s crucial role and how it can make or break your track.
Key takeaways
- Optimize your gain right from the start for a clearer mix.
- Balance your levels to avoid distortion and maintain headroom.
- Understand your gear’s limits for the best audio fidelity.
- Gain staging is crucial, whether laying down classic rock or hip-hop tracks.
Why is gain staging important in audio recording?
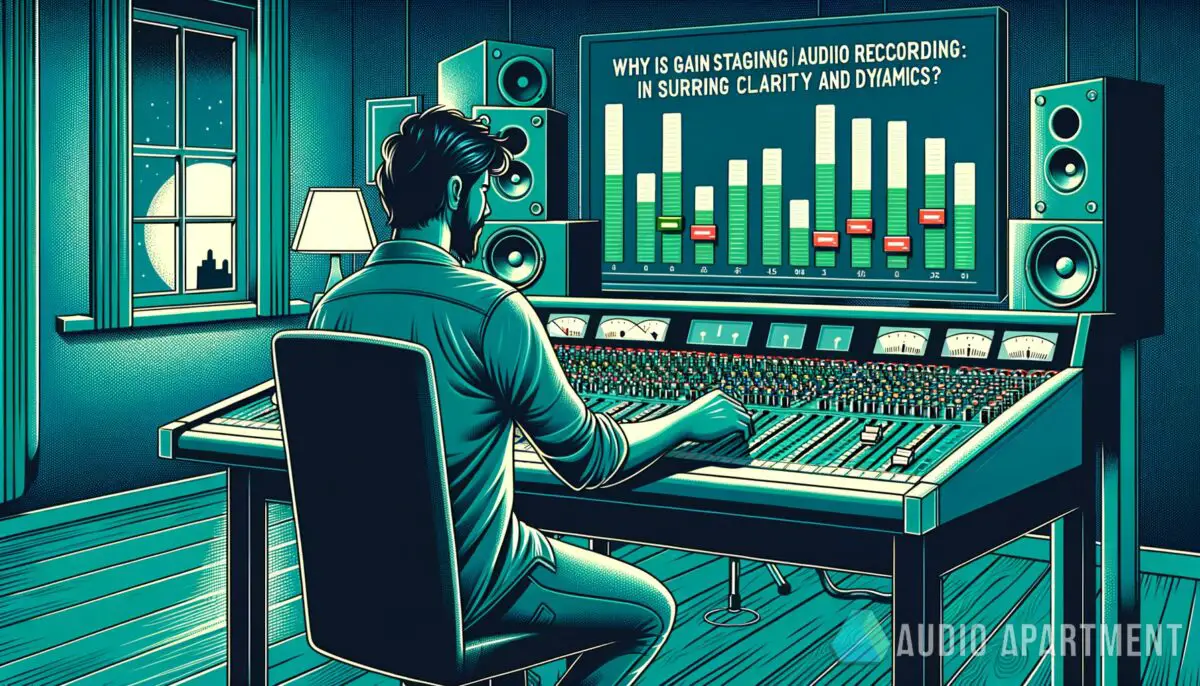
Gain staging is the backbone of clean, dynamic recordings. It’s the process of managing the levels of your tracks throughout the recording and mixing phases to prevent distortion and noise.

Getting your gain right from the get-go is key to preserving audio quality and clarity.
Here’s a list of reasons why gain staging should be your mix’s VIP:
- Prevents distortion: By carefully setting the gain at each step, you avoid pushing levels into the red and creating unwanted distortion.
- Maintains headroom: Proper gain staging ensures you have enough headroom for mixing, letting you blend tracks without peaking.
- Enables better dynamic range: It helps retain the natural dynamics of your performance, adding life and energy to the mix.
By mastering gain staging, you’ll make sure your mix slaps with clarity and punch. It’s crucial for home studio producers who want their tracks to resonate with the vibe and fullness intended.
For more on crafting that perfect mix, check out these essential audio mixing techniques for home studios.
Here’s the deal from my corner—I’m no audio sage, but even a greenhorn producer knows when a track is popping or flopping. Gain staging isn’t just some tech jargon, it’s your ticket to pro-level sound.
I’ve seen mates go off on wild tangents, cranking knobs to eleven and ending up with a hot, hissy mess. Bet, it’s a facepalm moment when you think about how tweaking those initial levels could’ve kept the mix clean.
Picture this: it’s like that climactic studio scene in every band movie ever. The magic is happening, the take is lit, but then—buzz kill—the levels peak and the mix is trashed.
“Arranging your gain right from the start is the golden ticket to a mix that hits with clarity and punch. It’s all about preserving that audio quality and opening up space for creativity without distortion crashing the session.”
That’s the art and importance of gain staging. So when you’re pushing tracks through your audio interface, think of it as the secret sauce to keeping your sound legit.
If you are a visual learner, check out this video titled ‘Gain Staging Secrets Every Great Audio Engineer Understands!’
AKAI Professional MPK Mini MK3

AKAI Professional MPK Mini MK3
What is the optimal gain staging process?
In pursuit of that silky-smooth mix, there’s a method to the madness in setting your levels. First, it’s crucial to record at an optimal level, which is usually around -18dBFS for the average signal peak, giving us ample headroom.
This headroom is vital because it prevents digital clipping and preserves audio fidelity.
Let’s check the essential steps:
- Use a clean signal path: Ensure your cables and preamps are top-notch and the gain isn’t cranked unnecessarily high.
- Monitor input levels actively: Keep an eye on your DAW’s metering to ensure you’re not peaking. If you’re in need of a quality DAW to track these levels accurately, peep these contenders for the best DAWs for producers.
Implementing these steps will ensure that by the time you hit the mixing stage, your tracks are well-balanced and clean, setting you up for a smoother mixdown process.
How does gain staging affect different equipment?
Recording gear reacts to signals in different ways, so understanding your equipment’s tolerance is part of the gain staging strategy. For instance, the preamp of your interface might add some flavor when driven a bit harder, but you have to balance that with maintaining the integrity of your signal.

Key points include:
- Identify the ‘sweet spot’: Each piece of gear has an optimal level where it performs best—find it.
- Consider the gear’s character: Some microphones, like those found in a curated selection of the best studio microphones, might add certain desirable characteristics to the signal when gain staged properly.
By recognizing how your equipment responds, you can use gain staging not just to prevent bad audio, but to enhance your overall sound.
Does analog gear require different gain staging?
Yes, analog gear does have its own set of rules. Working with hardware like compressors or EQs means you’ll need to carefully match levels between devices to maintain signal integrity.
In the classic rock era, engineers usually drove gear harder to achieve a “warm” sound, a desirable effect still chased in today’s digital world.
Here’s what you should know:
- Learn each piece’s headroom: How much signal can your analog compressor handle before it starts to distort?
- Balance analog and digital: If you’re adding analog gear in a digital setup, as discussed in this piece on analog warmth in digital recordings, it’s crucial to gain stage correctly to bridge the two worlds effectively.
Adapting your gain staging process for analog gear can infuse your recordings with classic depth and presence while keeping them clean and balanced.
How do plugins and digital effects play a role in gain staging?
In the digital realm, plugins can respond to gain staging just like any physical piece of gear. If the input signal is too hot, you might not be using the plugin to its full potential, or worse, it could degrade your audio quality.
Consider these points:
- Check plugin input/output meters: Many plugins have built-in metering—use them wisely.
- Understand each plugin’s gain staging needs: For example, vintage-style compressor plugins mimic the behavior of their analog counterparts and can be gain-staged to add color to the sound.
Using plugins the way they were intended usually starts with appropriate gain staging, as highlighted in this guide on the role of digital signal processors in audio production.

When is it okay to intentionally ignore traditional gain staging?
Sometimes, breaking the rules is part of the creative process. In genres like hip-hop, producers might intentionally push levels to achieve a particular effect like distortion or saturation.
The goal is usually to invoke a feeling or an aggressive edge to the track.
When deviating from the norm, keep in mind:
- Do it intentionally: Know the rules well enough to break them creatively, not accidentally.
- Have a backup plan: Keep an unprocessed copy of your tracks so you can revert if needed.
Pushing boundaries with gain staging can lead to fresh, iconic sounds, but it’s a gamble. It’s like when you’re bartending; sometimes a surprise ingredient adds just the right kick, but you’ve got to know your mixology fundamentals first.
We’ve delved deep into the why and how of gain staging, and now it’s time to anchor our knowledge with some compelling stats and info to really drive it home.
Here’s a concise table to showcase the technical side of things — a bit of data to chew on as you ponder your next session’s gain structure:
| Recording Level (dBFS) | Headroom (dB) | Potential for Distortion (%) |
|---|---|---|
| -18 | 18 | 0 |
| -6 | 6 | 15 |
| 0 | 0 | 100 |
This table outlines the importance of maintaining a healthy distance from 0 dBFS to ensure your tracks breathe easy, with no overload in sight. It’s not just numbers; it’s the difference between a mix that’s straight fire and one that fizzles out.
Sharpening your gain staging skills is about mastering the dos and don’ts. Like a good cocktail, the perfect mix requires the right balance.
Don’t get too heavy-handed or you’ll spoil the blend. Here’s a clear-cut table to keep your tracks sounding crisp and clean, without the noise that can crash the party.
| Do | Don’t |
|---|---|
| Record at an optimal level. | Push levels into the red zone. |
| Monitor your input levels. | Ignore metering on your equipment. |
| Understand your gear’s limits. | Assume all gear has the same range. |
| Utilize proper cabling. | Use cheap, unreliable cables. |
| Apply changes incrementally. | Make drastic adjustments quickly. |
More gain staging tips
Getting your gain staging right needs a mix of technical know-how and a dash of intuition. It’s a bit like experimenting with a new riff or digging into a fresh pair of kicks—you gotta feel it out.
Here are some extra nuggets to keep in your back pocket:
- Stay organized: Label your tracks and take notes on your gain staging levels.
- Reference tracks: Check your mix against professionally produced tracks and get a feel for how they handle dynamics. Dive into why you should use reference tracks in mixing for a deeper understanding.
- Repeated checks: Regularly revisit gain settings throughout the mixing process to ensure nothing’s slipped through the cracks.
- Trust your ears—but verify: While it’s essential to trust your ears, also use visual aids to confirm that levels are where they should be.
- Learn from the pros: Get insights from seasoned pros on how they manage gain staging. This might involve geeking out over interviews or diving into detailed production breakdowns.
- Backup your sessions: Always save versions of your project before making significant changes, so you can revert if needed.
- Match levels when A/B testing: To objectively judge changes, ensure you compare at the same perceived loudness.
- Automation is your friend: Use it to maintain consistent levels throughout your track.
- Keep learning: Stay hungry for new techniques and gear that can spice up your mixing game. Maybe start with exploring the benefits of using multi-effects pedals.
Frequently asked questions (FAQ)
What happens if I skip the gain staging step?
If you skip gain staging, you’re risking audio clipping, unwanted distortion, and a lack of headroom for mixing. This can result in a final product that sounds amateurish and could require more work or re-recording to fix the levels post-production.
Can I fix gain issues during mastering?
Mastering can only do so much if the gain issues are baked into the recording. While some level adjustments are possible, if there is significant clipping or distortion, it can’t be removed entirely.
It’s always better to address these issues during the recording or mixing stages.
Is gain staging different for live sound versus studio recording?
Yes, gain staging for live sound involves optimizing levels for real-time performance and can be less forgiving, with less control over acoustic variables. Studio recording affords you the luxury of fine-tuning each track in a controlled environment to achieve the best possible sound.
Final thoughts
And that’s a wrap on gain staging, people. Remember, gain staging might seem like a technical hoop to jump through, but it’s the secret handshake of the audio world.
Get it right, and you’re on your way to pristine tracks that feel right and sound even better. Whether you’re laying down some tight 90s alternative tracks or crafting the next hip-hop banger, impeccable gain staging is your unsung hero.
So turn those knobs with confidence and keep those levels in check.
What part of gain staging do you find most challenging? Did I cover everything you wanted to know? Let me know in the comments section below I read and reply to every comment.
If you found this article helpful, share it with a friend, and check out my full blog for more tips and tricks on audio recording. Thanks for reading and keep pushing those boundaries to find your unique sound.


