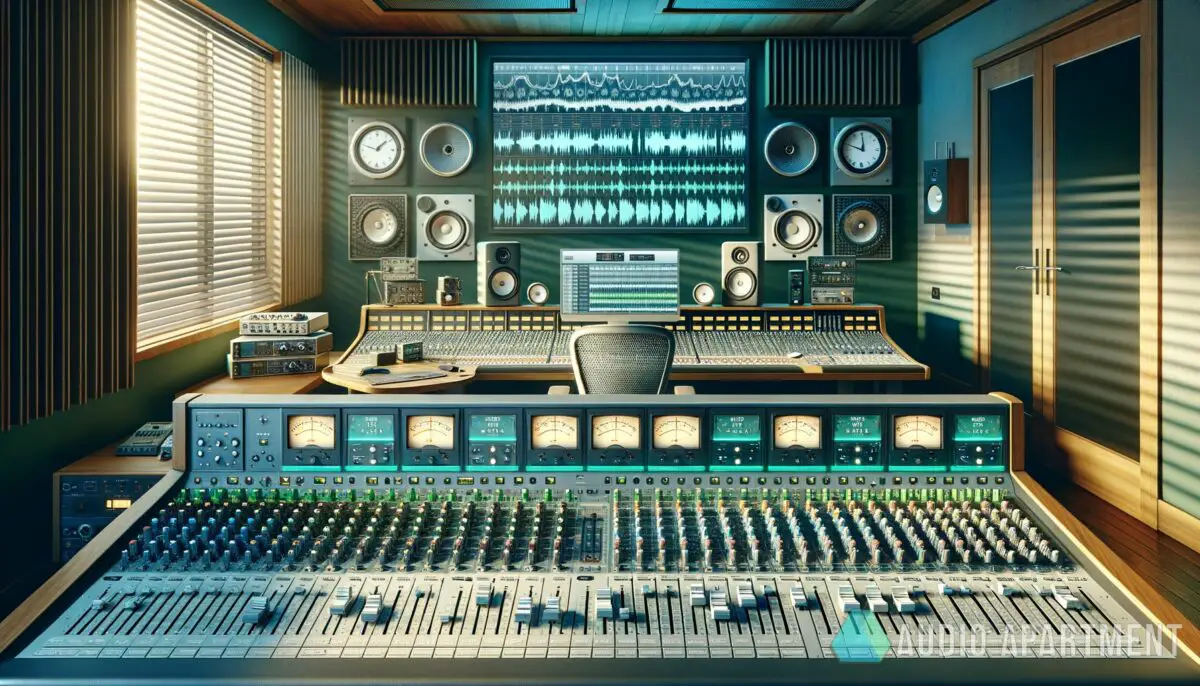
In the whirl of dials, meters, and waveforms, understanding the sheer power of monitoring levels is like finding the right key to unlock a magic kingdom. Ever wondered why your mixes don’t quite slap like the ones you jam to?
Think about it like picking the best studio monitors—precision is key. You’ll discover the whys and hows of keeping tabs on the lifeblood of audio production—levels.
If you are a visual learner, check out this video titled ‘Levels and Loudness Metering (RMS, LUFS and True Peak)’
Key takeaways
- Monitor levels to prevent clipping and ensure dynamic range.
- Utilize headroom wisely for a better mastering process.
- EQ settings and compression can greatly affect overall levels.
- Balanced stereo imaging contributes to a fuller sound experience.
Why is monitoring levels important in mixing and mastering?
Keeping an eagle eye on your levels is essential for a variety of critical reasons. Here’s the lowdown on why:

- Preventing Clipping and Distortion: When your tracks are blaring hotter than a summer block party, you flirt with the danger zone where signals clip and your audio gets distorted. You’ve got to keep levels in check to prevent your mix from sounding like a hot mess.
- Ensuring Dynamic Range: It’s all about the drama, the crescendos, and decrescendos. Monitoring levels meticulously allows you to sculpt the dynamic range, making sure your music breathes and resonates with the emotional contours you’re aiming for.
- Compatibility Across Different Playback Systems: You want your beats to sound dope wherever they’re played, right? From booming car stereos to tiny phone speakers, monitoring levels ensures your mix translates well across all platforms.
Getting your levels dialed in is as important as picking the perfect pair of studio headphones—it’s laying the foundation for a solid mix and master.
You’ve gotta respect the levels if you want to create that crisp, clear sound that resonates from speakers with intent. From my greenhorn spot behind my home studio desk, I’ve learned that monitoring levels isn’t just some techy jargon; it’s the lifeline of a top-notch mix and master.
I remember this one time chillin’ with a buddy who was dropping some serious bars—only to have the playback reveal a beastly distortion monster instead of the smooth flow we expected. That day reiterated what I had heard before, akin to the scene in “Back to the Future” where Marty’s guitar riff blows the amp—overlook monitoring levels, and your mix could literally crash and burn.
So here’s what I think: monitoring levels well is a sign of respect for the music and the ears it’s reaching. It’s crucial, fam, no cap.
“Keeping an eagle eye on your levels is essential for a variety of critical reasons. From preventing clipping and distortion to ensuring dynamic range, monitoring levels meticulously allows you to sculpt the dynamic range, making sure your music breathes and resonates with the emotional contours you’re aiming for.”
Keep it in check, and you’ll be one step closer to having people nod their heads to your tracks for real. And when you’re in the matrix of a mixdown session, think about those classic tracks that still bang years later—that’s proof enough that proper level monitoring is timeless.
If you feel like picking up more from where this comes from, I’ve got the lowdown on the importance of gain staging in audio recording that’s gonna help you elevate your game.
AKAI Professional MPK Mini MK3

AKAI Professional MPK Mini MK3
The role of headroom in mixing and mastering
Headroom is the gap between the peak levels of your audio and the maximum level before distortion kicks in. It’s the sonic breathing room that keeps your track from sounding squashed.
- Optimal Headroom Speaks Volumes: Aiming for -6dB of headroom during mixing gives you ample space for mastering maneuvers. Without this space, your audio mastering engineer might have to battle to shoehorn in enhancements—you don’t want that.
- Mastering Like a Pro: Proper headroom allows mastering to add the final polish, ensuring your track’s levels are competitive for playback across all systems and media formats. The pros know this is non-negotiable.
Venturing into headroom territory without a clue can feel like navigating New York City without a map. Keep a tight watch on those levels, and your tracks will thank you by sounding fresh out of a pro studio.
EQ settings and their impact on levels
Deploying EQ is not just about shaping the tonal balance; it’s also a delicate dance with the levels in your mix. EQ adjustments can increase or decrease volume, affecting headroom.

- Balance and Clarity: Strategic EQ helps eliminate frequency masking where important sounds can be buried. Clearing out unwanted frequencies reduces muddiness and increases perceived loudness.
- Maintaining Consistency: Avoid massive cuts or boosts as they can lead to level inconsistencies. Smaller tweaks create a more balanced soundscape while preserving the dynamic integrity of your track.
Remember, EQ is powerful. Wielding it wisely ensures your sonic sculpture has both form and function, creating a vibe that’s thicc with musicality and finesse.
Using compression to control dynamics
Compression tames the dynamic range, ensuring that levels throughout your song are consistent and impactful. This process can make or break a mix.
- The Sweet Spot: Over-compressing can leave your mix lifeless. Targeting a ratio of around 2:1 to 4:1 usually keeps your track vibing without sounding crushed.
- Know Your Attack and Release: Timing is everything. The right attack and release times keep your mix breathing while ensuring each note has its moment in the spotlight.
Browsing the ins and outs of compression, you’ll find it’s like finding the perfect tempo—there’s a rhythm to it that, when hit just right, elevates the whole track.
Stereo imaging and spatial depth
A balanced stereo image makes your mix spacious, providing an immersive listening experience. Here’s how to get it without sacrificing your levels:
- Strategic Panning: Effective panning places elements in the stereo field, making your mix wider without increasing the overall level.
- Reverb for Depth: Reverb adds dimension, but also raises your levels. To maintain control, adjust your reverb sends pre-fader and monitor post-fader levels to avoid unwanted spikes.
Stereo imaging is another essential element in your production toolkit. When done right, it creates that concert hall vibe, making your listeners feel like they’re in the room with the music.

Understanding frequency spectrum distribution
The frequency spectrum is your canvas, and how you paint it determines the clarity of your mix. Each instrument should have its own ‘frequency space.’
- Avoiding Overcrowding: Assign clear frequency ranges for instruments to prevent a build-up that can cloud your mix and push levels.
- The Low-End Challenge: Bass frequencies are powerful and can quickly overpower a mix, leading to unexpected level spikes. Manage them carefully to preserve headroom.
Navigating the frequency spectrum takes patience and a discerning ear. It’s like tuning into your favorite radio station—everything comes through with perfect clarity when dialed in just right.
Here’s a streamlined and informative table that showcases the essential aspects of monitoring levels in mixing and mastering:
| Aspect | Description | Optimal Setting |
|---|---|---|
| Headroom | Space before distortion | -6dB |
| EQ | Tonal balance and volume adjustment | Subtle shifts |
| Compression | Dynamic range control | 2:1 to 4:1 ratio |
| Stereo Imaging | Spatial positioning in the mix | Strategic panning |
| Frequency Spectrum | Instrument separation in mix | Defined frequency ranges |
By keeping these elements in check, you’ll be well on your way to creating mixes that not only sound professional but also vibe right in any setting. Now that you’ve got the data, it’s time to translate this knowledge into sonic excellence in your next production session.
Keeping your audio crisp and on-point is like mixing the perfect cocktail—knowing what to mix and what to skip is crucial. Here’s a table serving up the dos and don’ts to guide you through the mixology of sounds.
Follow these tips to keep your tracks tasting immaculate every time they hit the eardrums.
| Do | Don’t |
|---|---|
| Keep an eye on your meters | Ignore clipping indicators |
| Use reference tracks | Mix exclusively on headphones |
| Listen to mixes on various speakers | Overlook room acoustics |
| Take regular breaks for your ears | Rush the mixing process |
| Adjust levels at different volumes | Mix at loud volumes only |
More mixing and mastering tips
Dropping a fresh mix or master isn’t just about tweaking the knobs. It’s a craft that requires a mix of cool tech and some old-school ear magic.
So strap on your producer’s hat, ’cause here are some more moves to up your game:
- Always start with clean, well-recorded tracks to make mixing smoother.
- Tweak EQ settings gently—you can’t fix what wasn’t recorded well.
- Experiment with sidechain compression for that extra groove and pump.
- Use your DAW’s analysis tools to visualize what you’re hearing.
- Trust your ears but confirm with visual meters to catch any sneaky peaks.
- Dive into MIDI sequencing to lock in your groove and timing.
- Spice things up with virtual instrument performances for added texture.
- And don’t forget, reverb is the salve that blends everything into one cohesive soundscape.
Master these tips, and your tracks will not only slap, but they’ll resonate with a boldness that says, “I’m here, and I ain’t playing around.” Now go ahead and make those waveforms dance to your tune.
Frequently asked questions (FAQ)
How do I know if my track is clipping?
Clipping occurs when a signal exceeds the maximum level that a piece of audio equipment can handle, leading to distortion. You’ll know it’s happening if you see the meters on your audio interface or DAW hitting the red zone, or if you hear a harsh, distorted sound in your audio playback.
It’s a sure sign you need to dial back the gain and make some level adjustments.
What is the difference between mixing and mastering regarding levels?
Mixing is all about balancing the individual track levels to create a cohesive and dynamic sound. Mastering, on the other hand, takes the final mix and tweaks it to ensure it’s polished and consistent across all playback systems, usually making final adjustments to overall volume, dynamic range, and EQ.
Both processes require careful level monitoring but with different end goals in sight.
Can I fix level issues during mastering if I missed them in the mixing stage?
To an extent, yes, mastering can address some level issues, like overall volume and minor balancing of frequencies. However, it’s not a cure-all for poor mixing.
If your mix has significant level problems—like clipping, excessive muddiness, or imbalance—these are better corrected during the mixing stage. Mastering is most effective when it enhances an already well-mixed track.
Final thoughts
Navigating the world of audio levels in mixing and mastering is like charting a course through the rugged wilderness of sound—it’s an art of balance, discipline, and attention to detail. With the right approach to monitoring levels, your music won’t just sound good, it’ll feel right, transcending the physical realm and touching the soul of your audience.
Now go out there, create with passion, and let your tracks tell the story they were meant to tell.
How do you ensure your tracks are perfectly polished? I read and reply to every comment. If you found this article helpful, share it with a friend, and check out my full blog for more tips and tricks on the intricacies of audio production.
Thanks for reading and keep those levels in check—your mixes will thank you for it!


